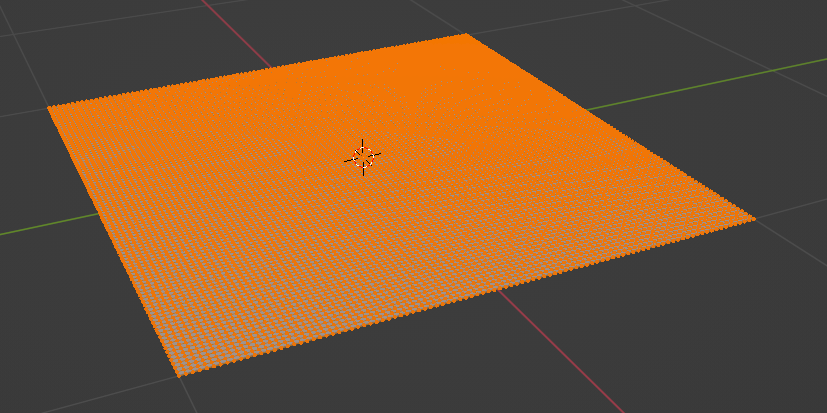
Add->Mesh->Plane, Subdivide 100:
I did
git clone https://github.com/powervr-graphics/Native_SDK.git
cd Native_SDK
git submodule update --init --recursive
opened build-android folder in Android Studio and started the build.
Installed Vulkan SDK and built QT6.4.2 for windows with the following script:
set PATH=C:\WINDOWS\system32;C:\WINDOWS

"C:\Program Files\Microsoft Visual Studio\2022\Professional\VC\Auxiliary\Build\vcvarsall.bat" amd64

set MY_DRIVE=D:

%MY_DRIVE%
mkdir \dev\build\qt
cd \dev\build\qt

set "CMAKE_ROOT=%MY_DRIVE%\dev\tools\cmake-3.24.2-windows-x86_64\bin"
set "NINJA_ROOT=%MY_DRIVE%\dev\tools\ninja-win"
set "PERL_ROOT=%MY_DRIVE%\dev\tools\Strawberry\perl\bin"
set "PYTHON_ROOT=%MY_DRIVE%\dev\tools\Python35"
set VULKAN_SDK=%MY_DRIVE%/dev/tools/VulkanSDK/1.3.239.0
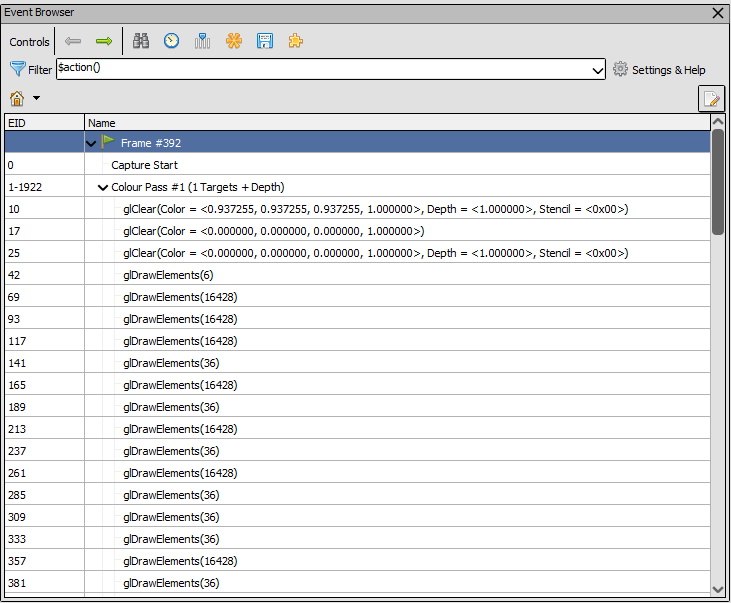
When we click on a node in Event Viewer: see renderdoc\qrenderdoc\Windows\APIInspector.cpp:
void APIInspector::OnSelectedEventChanged(uint32_t eventId)
{
  ui->apiEvents->saveExpansion(ui->apiEvents->getInternalExpansion(m_EventID), 0);

  ui->apiEvents->clearSelection();

  fillAPIView();

  m_EventID = eventId;
  ui->apiEvents->applyExpansion(ui->apiEvents->getInternalExpansion(m_EventID), 0);
}
I built Vulkan samples for Windows as follows:
set MY_VS_GENERATOR="Visual Studio 17 2022"
set MY_DRIVE=D:
%MY_DRIVE%
cd \dev\build\v
set MY_CMAKE_EXE=%MY_DRIVE%\dev\tools\cmake-3.24.2-windows-x86_64\bin\cmake.exe
%MY_CMAKE_EXE% ..\..\repos\Vulkan -G %MY_VS_GENERATOR% -A x64
rem Open generated vulkanExamples.sln and build.
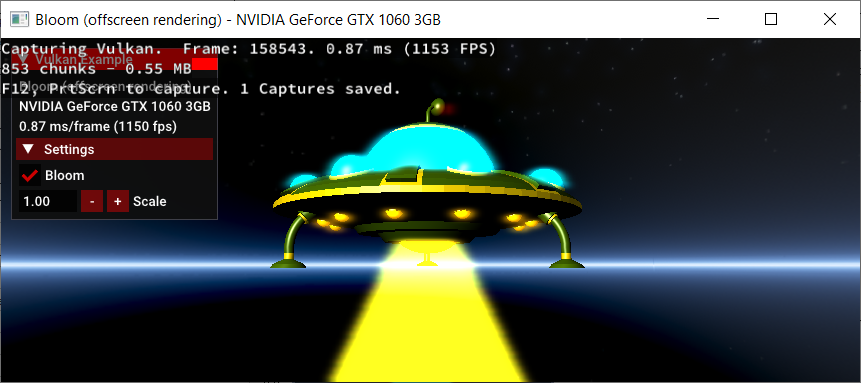
and launched bloom.exe with RenderDoc:
I cloned RenderDoc’s repository:
git clone https://github.com/baldurk/renderdoc.git
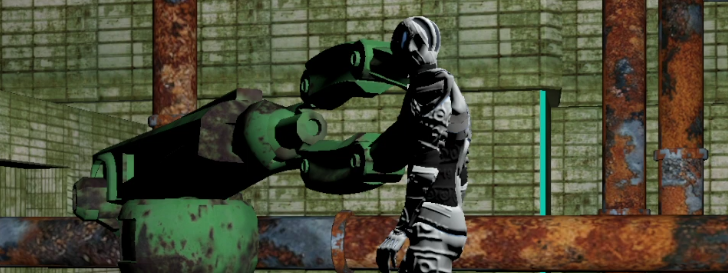
easily built renderdoc\renderdoc.sln with MSVC2022 on my home machine, opened my Lines Game built on Windows with OpenGL:
Cloned the repository:
git clone https://github.com/SaschaWillems/Vulkan.git
git submodule init
git submodule update
Updated assets:
python.exe download_assets.py
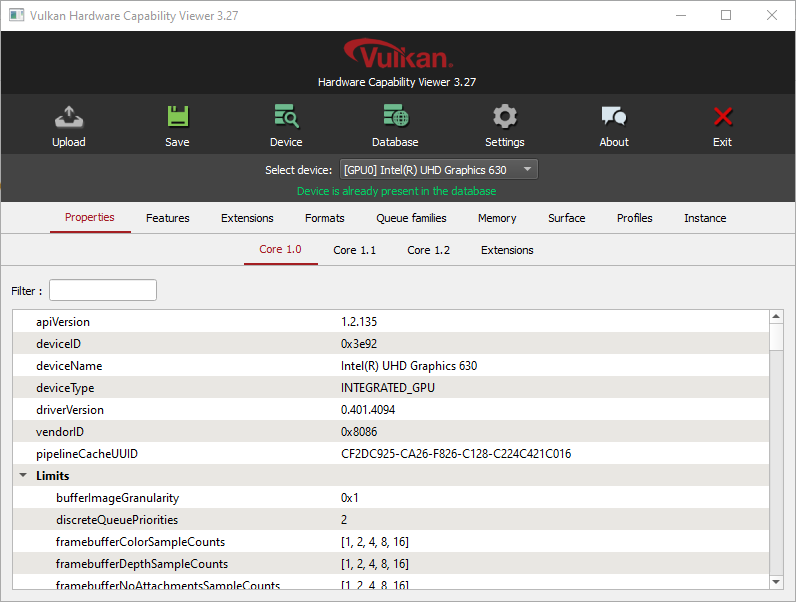
I downloaded Vulkan SDK and installed Vulkan Hardware Capability Viewer at C:\VulkanSDK\1.3.236.0\Bin\vulkanCapsViewer.exe: