First, as a true C++ developer, I installed Ubuntu 18.04 and compiled omnicore from sources, but after that I realized that Windows omnicore-0.9.0 client can be downloaded and run directly on my Windows 10 machine.
I found omnicore-qt.exe in the unpacked files and run it:
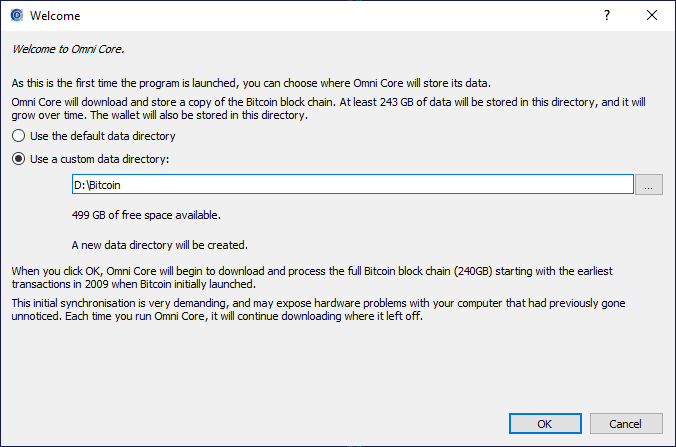
and it started the synchronization:
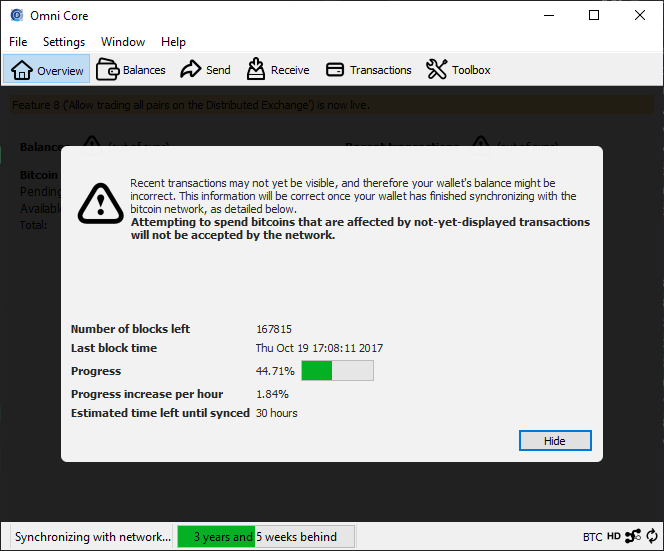
It synchronized within 10 days utilizing about 35% of my Intel i-7 CPU and took 373 GB on my SSD:
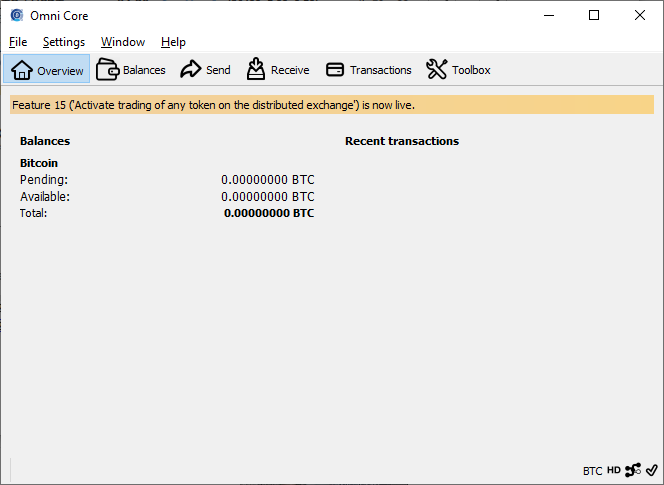
I expected there will be a button for creating USDT wallet but there is not.
omnicore-qt.exe process is running, but omnicored.exe is not, so omnicore-cli.exe fails:
omnicore-cli getinfo
error: Could not connect to the server 127.0.0.1:8332 (error code 1 - "EOF reached")
Make sure the omnicored server is running and that you are connecting to the correct RPC port.
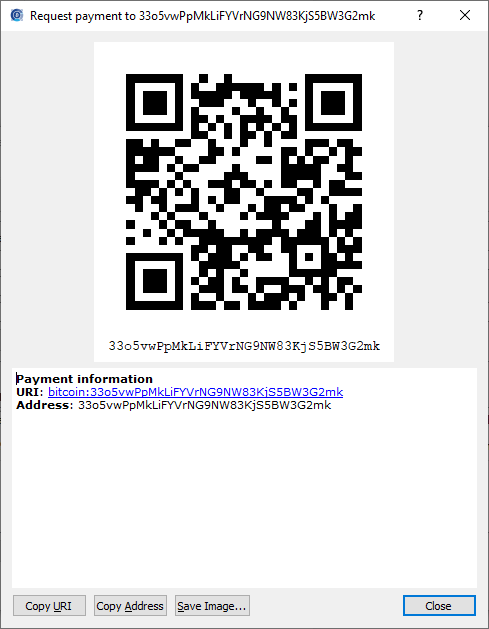
So looks like I press ‘Request payment’ button that generates an address like 33o5vwPpMkLiFYVrNG9NW83KjS5BW3G2mk:
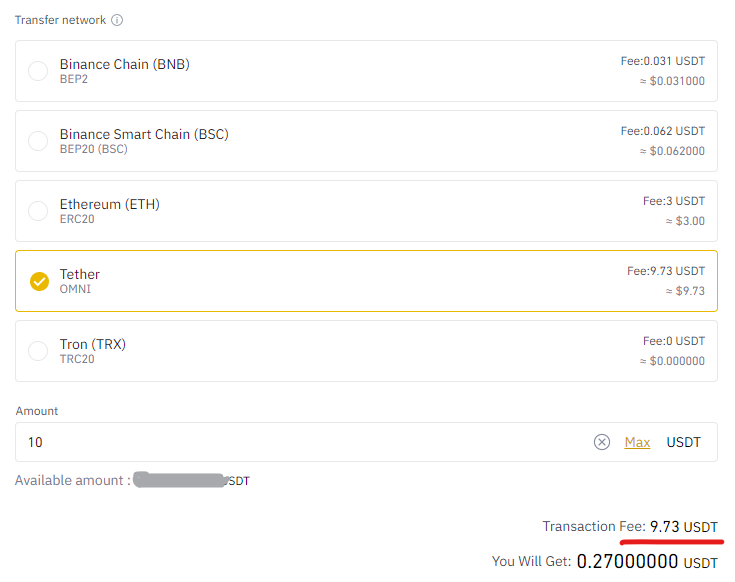
Another unexpected surprise is that there is a terribly huge commission on Binance:
Links: